Can a charcoal grill deliver real wood smoke flavor without needing attention all night? That was the question I wanted to answer with the Lone Star Grillz Adjustable Charcoal Grill and its optional charcoal basket.
The short answer is yes, in my test. The empty-grill trial delivered more than 12 hours of burn time, and the actual brisket cooked for eight hours without me touching the grill after the initial wood-fire stage. But the useful part is how I got there, because a couple of discoveries changed my approach before I put an expensive packer brisket on the line.
This was not a case of dumping in charcoal, guessing at the vents, and hoping for the best. I tested the fuel, logged the temperatures, learned how sensitive the fire was to fresh air, and then repeated the setup with food.
Disclosure: Lone Star Grillz provided free product/sponsorship for this test.
Key Takeaways
- The charcoal-basket trial delivered more than 12 hours of burn time with FOGO lump charcoal.
- A brief lid opening caused a temperature spike that took over an hour to settle.
- Three hours of wood smoke followed by eight hands-off hours produced excellent brisket in this test.
- The overnight hot hold used a 150°F oven while keeping the brisket above 140°F internally.
Table of Contents
- Why Test the LSG Charcoal Basket?
- Test the Fire Before Gambling a Brisket
- Trim and Season the Brisket While the Test Runs
- Three Lessons From the Fire-Management Trial
- The Actual Cook: Wood Smoke First, Charcoal Second
- Moving the Brisket Into an Overnight Hot Hold
- Did Hands-Off Brisket Actually Taste Good?
- My Verdict on Set It and Forget It With the LSG
Why Test the LSG Charcoal Basket?
After a couple of months with this grill, I was starting to understand its versatility. I had used it as a vertical smoker, cooked chicken thighs over direct heat, and seared some fantastic tomahawk steaks.
I had also tested its offset-style capability with a brisket, three racks of ribs, and eight sausages in the same cook. That convinced me it could suit a family wanting occasional offset-style cooking without dedicating backyard space to a full-size offset smoker.
The next question was whether I could combine two approaches:
- Start with a real wood fire to build the smoke flavor I wanted.
- Transition to a full charcoal basket for a long, steady stretch with minimal intervention.
The optional charcoal basket claims 8 to 12 hours at 225°F to 250°F. That is a useful range, but four hours makes a big difference when you are planning an overnight cook.
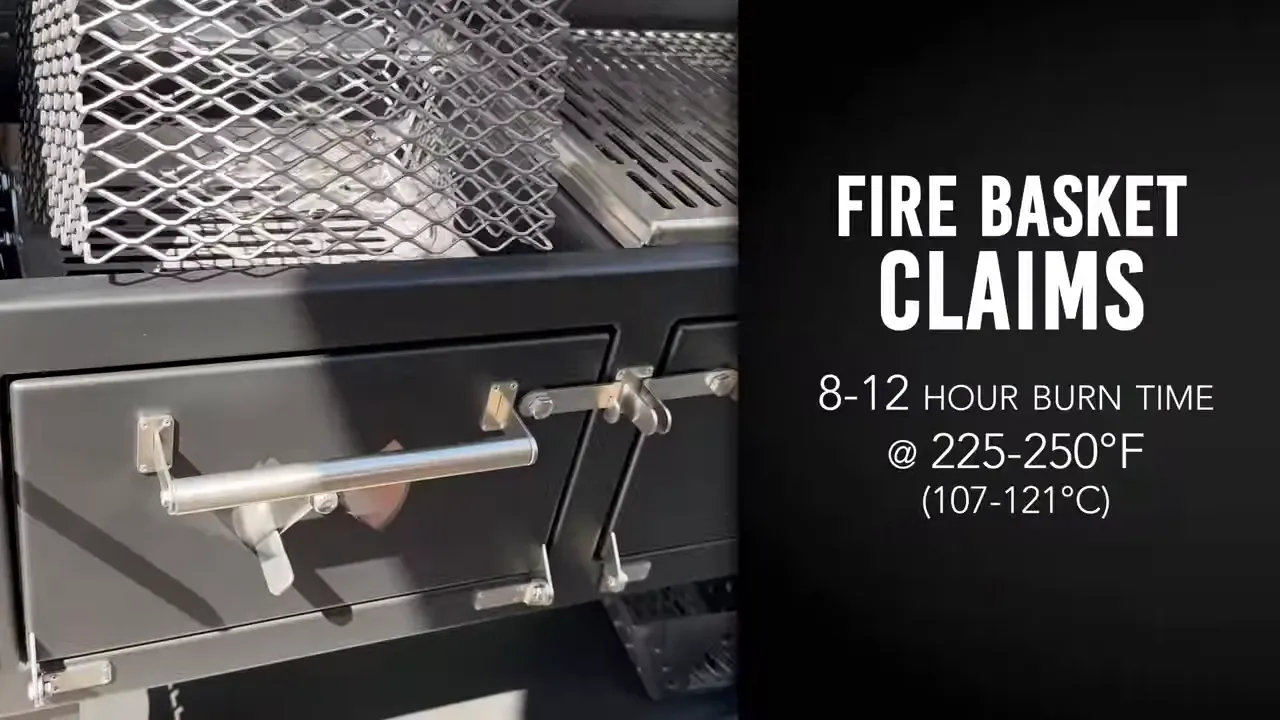
I needed to know where my fuel and vent settings would land within that range. More importantly, would the temperature actually stay put, or would I get a runaway fire or a temperature collapse?
Test the Fire Before Gambling a Brisket
Charcoal choice is part of the equation
Charcoal is not interchangeable. Different fuels have different burn characteristics, including duration and maximum temperature. The Naked Whiz lump charcoal database is a useful reference for comparing those characteristics.
I used FOGO lump charcoal for this test. I expected good longevity from it, but that did not tell me how it would perform in this particular basket, in this grill, with my airflow settings.
That is why I wanted a trial run without food. A fuel review can help narrow your choices, but it cannot replace learning your own setup.
Set the airflow for the grill’s location
My grill sits beside the house in an area that can act like a wind tunnel. I had already learned that the hard way during an earlier cook.
For this test, I built the fire on one side, kept the upper vent on the fire side closed, brought air in through the lower intake, and exhausted it through the opposite side. The idea was to establish an offset-style draw while reducing the wind’s influence on the fire.
The vent arrangement needs to work with the grill’s location. My settings were a starting point for my yard, not a universal prescription.
Build a small fire, then load the basket
I wanted the trial to mimic the transition from a wood-fire smoke stage into a charcoal-powered cook. Starting with a completely cold grill would not have represented that.
- Clean the cooking grates and empty the ash tray.
- Lower the adjustable charcoal grate to its low position.
- Install the optional charcoal basket in the fire side.
- Add a small amount of charcoal and a wood split, then light the fire.
- Let the split burn down until a small live coal bed remains.
- Add fresh charcoal to approximately the top of the basket and let it establish a clean burn.
That small coal bed underneath was enough to help ignite the new load. It also meant the trial used a bottom-started fire, something that became relevant when I inspected the remaining fuel the next morning.
I started with roughly a thumb-width opening at both the active intake and exhaust. Those settings settled the cooker around 240°F.
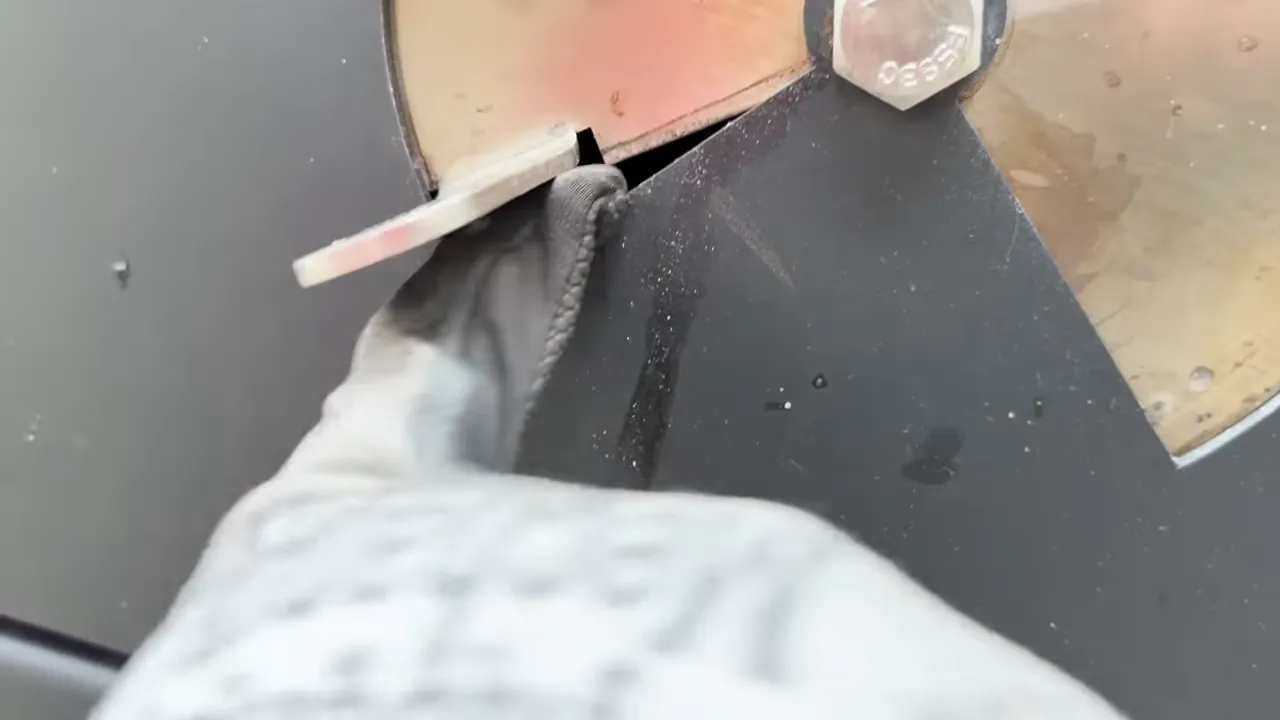
To collect more than a few spot readings, I connected an ambient probe to my FireBoard Spark and logged the temperature in the app. Logging began around 2 p.m. If the basket met its claim, I expected useful heat somewhere between late evening and the early hours of the next morning.
Trim and Season the Brisket While the Test Runs
With the fire test underway, I prepared the brisket for an overnight dry brine. The seasoning was simple: freshly cracked pepper and seasoning salt.
Trim for the direction of the heat
In an offset-style configuration, hot air travels across the brisket from one side to the other. That makes the brisket’s shape worth thinking about.
When heat comes primarily from underneath, protecting the bottom is a major concern. Here, I wanted a smoother profile that would let heat and smoke travel over the meat without a big change in height at the point end.
After removing the packaging and patting the brisket dry, I worked through these areas:
- Hard fat underneath: Remove the firm deckle fat that needs attention on the underside.
- Excess fat over the point: Trim more aggressively where a thick mound of fat creates height without adding much meat.
- The flat: Be more conservative as you work toward the thinner end.
- The raised “mohawk”: Remove the protruding ridge to smooth the profile. Meaty trimmings can go toward a burger grind, while suitable fat can be saved for tallow.
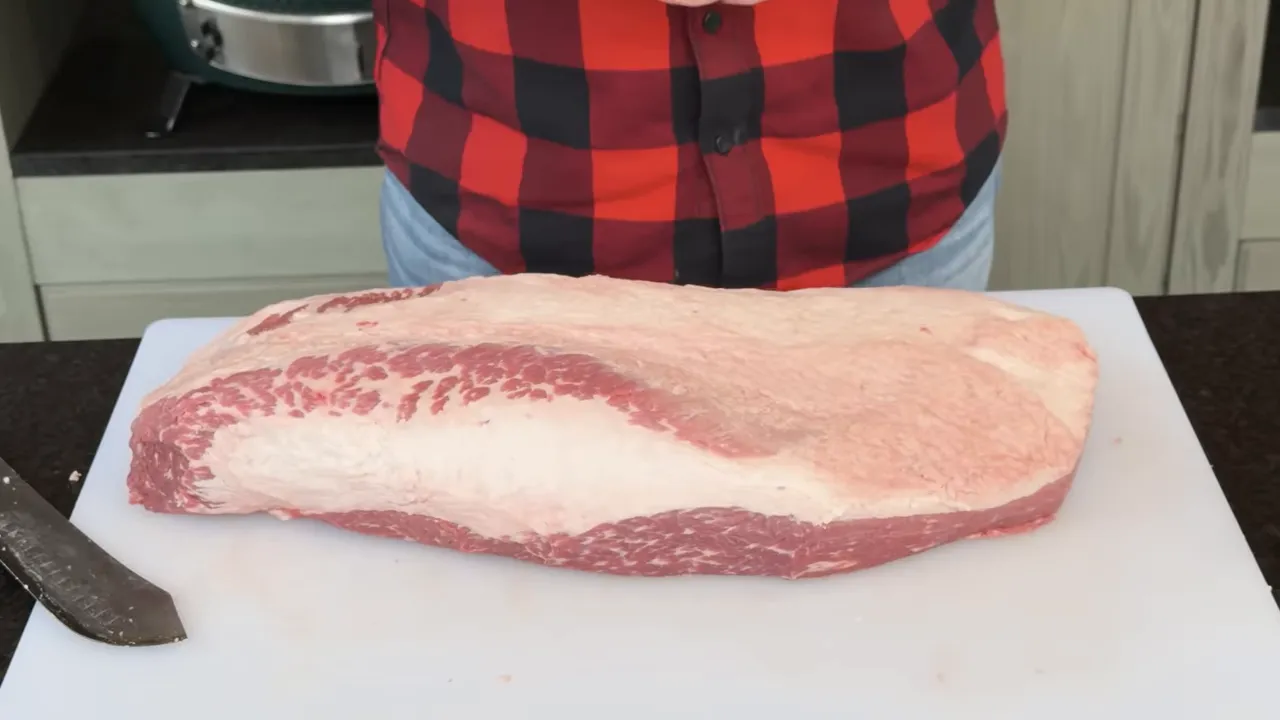
The goal was not to carve a perfect sculpture. It was to take away the obvious lumps and hard fat while preserving the meat, especially the flat.
Use pepper to steer the bark
I ground approximately 6 tablespoons of pepper to cover the whole brisket. Straight black pepper works well, but I used a mixed peppercorn blend with black, red, green, and white pepper for a little extra spice and variety.
I seasoned the underside first, applying pepper before seasoning salt. Then I flipped the brisket and repeated that order on the presentation side, making sure the edges were covered too.
Pepper also helps steer the finished appearance:
- More pepper: A darker-looking bark.
- Less pepper: More of a mahogany appearance.
- Paprika, if desired: Another way to adjust the color of the finished seasoning.
For seasoning salt, I used Lawry’s. Fiesta Season-It-All or a similar seasoning can also work. Rio Spice is another option I like, with more black pepper already built into the blend. When I cannot get that, I lean a little heavier on the freshly cracked pepper alongside Lawry’s.
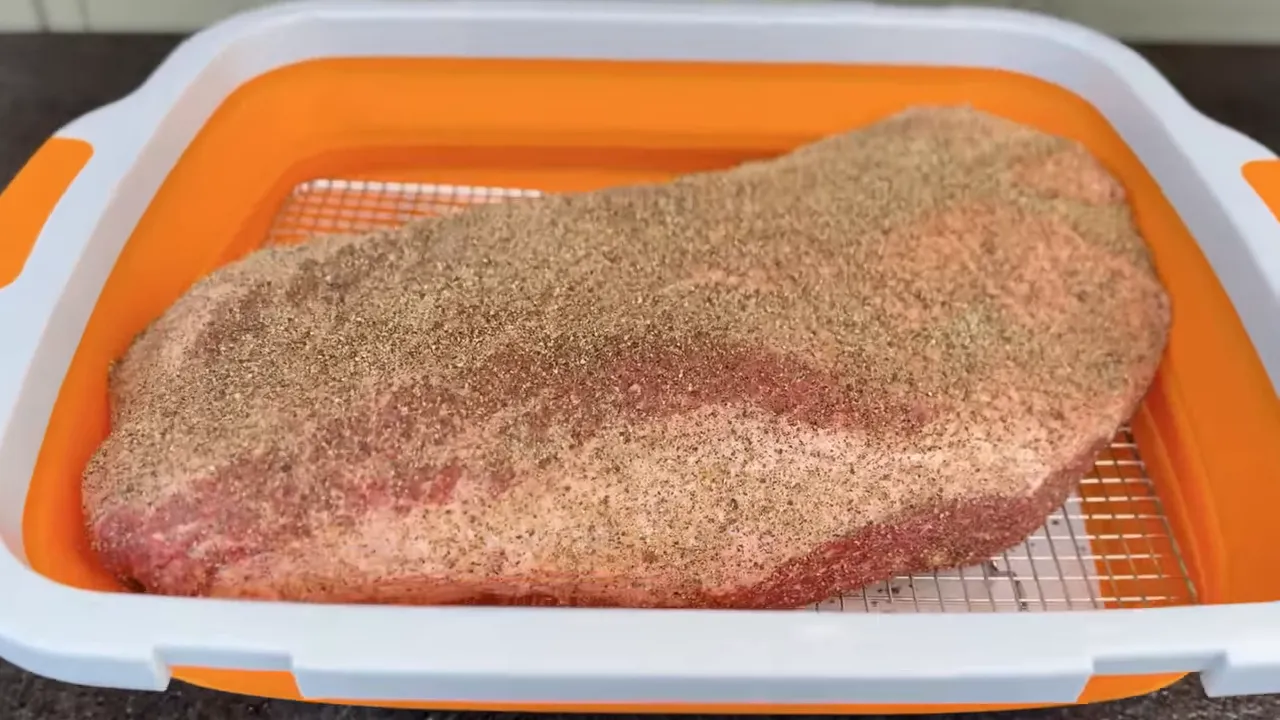
Elevate it for the overnight dry brine
I placed the seasoned brisket on a wire rack inside a prep tub and refrigerated it overnight.
The rack matters. Salt draws moisture out initially, and I did not want the brisket sitting in a puddle. Elevating it allowed airflow underneath and helped keep the bottom seasoning from sitting in that moisture.
Three Lessons From the Fire-Management Trial
1. The basket delivered more than 12 hours
The temperature log showed the long, relatively steady run I was hoping for. From the roughly 2 p.m. start, the fire continued through midnight and reached about 2 a.m. before temperatures began falling sharply.
That gave me more than 12 hours of burn time without manual intervention after the setup and inspection work. For planning an eight-hour hands-off stretch, that was encouraging data.
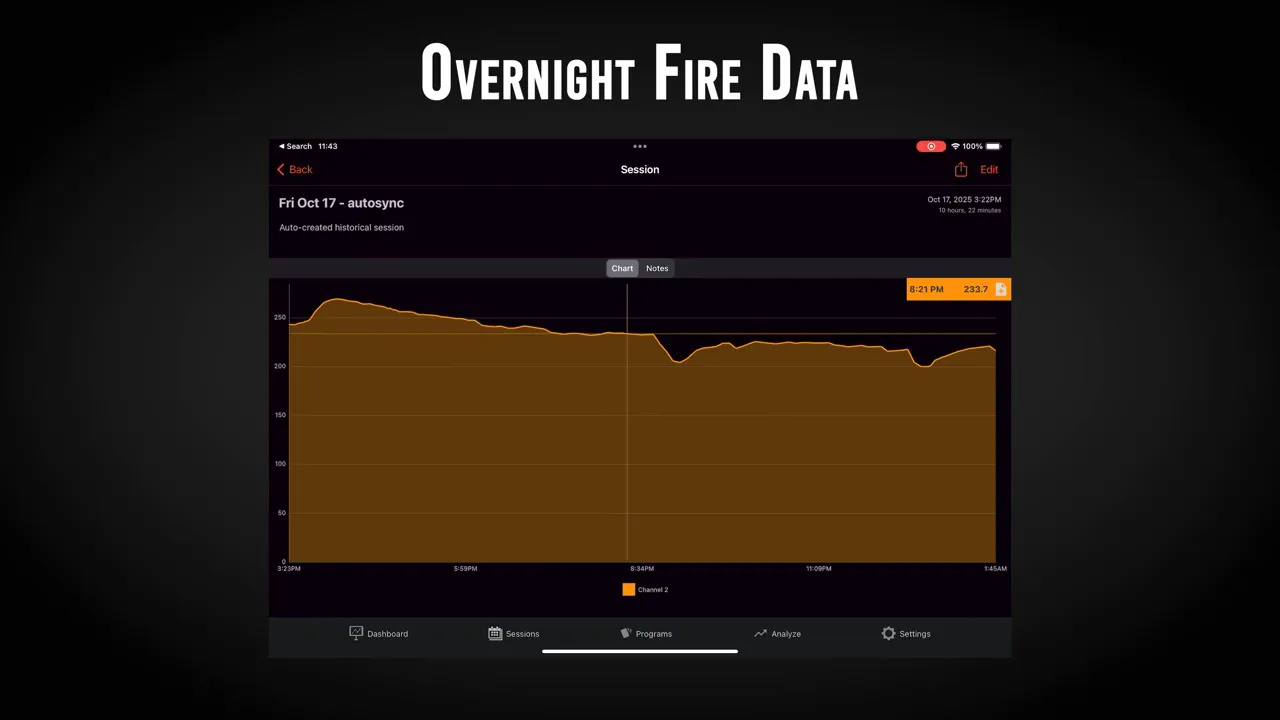
It was still one test using one fuel and one arrangement. I treated it as evidence for repeating this setup, not a promise that every load would behave identically.
2. A temperature drop did not mean the basket was empty
The next morning, there was still a substantial amount of charcoal left in the basket. The fire had not consumed everything available.
That raised a couple of possibilities for future testing:
- Would lighting from the top instead of underneath change how completely the basket burned?
- Would smaller charcoal pieces reduce large gaps and give the fire a more continuous path through the fuel?
Those were ideas, not proven fixes. I had enough duration for this cook, but the leftover fuel suggested there might be more performance to unlock.
3. Opening the lid had a bigger effect than expected
About two hours into the trial, I used a thermal camera to inspect the cooker. The firebox and exhaust showed the hot areas I expected. Across the primary cooking grate, I did not pick up an obvious hot or cold spot that made me favor pointing the flat or point in a particular direction.
That was reassuring, and it matched my earlier cooking experience. But the inspection also taught me something else.
The lid was open for only about 45 seconds. Afterward, the temperature spiked, and it took an hour or more to settle back down.
The charcoal clearly responded to that influx of fresh oxygen. For the brisket cook, I borrowed a technique from my kamado cooks:
- Close the intake vent before opening the lid.
- Open the grill and complete the check or other task promptly.
- Close the lid.
- Wait about two to three minutes before restoring the intake to its previous setting.
The aim is to limit the extra oxygen feeding the fire during a lid opening. It is also a good reason not to keep opening the cooker just because you are curious.
The Actual Cook: Wood Smoke First, Charcoal Second
With the trial complete, I repeated the basic fire setup and put the brisket on the cooking side opposite the fire.
I had originally planned around two hours of wood smoke. In the actual cook, I burned three wood splits over roughly three hours, working out to about one split per hour.
I sometimes call this opening stage “cold smoking,” but to be clear, this was low-and-slow cooking around 225°F, not true cold smoking. The purpose was to use a live wood fire early in the cook for plenty of smoke flavor.
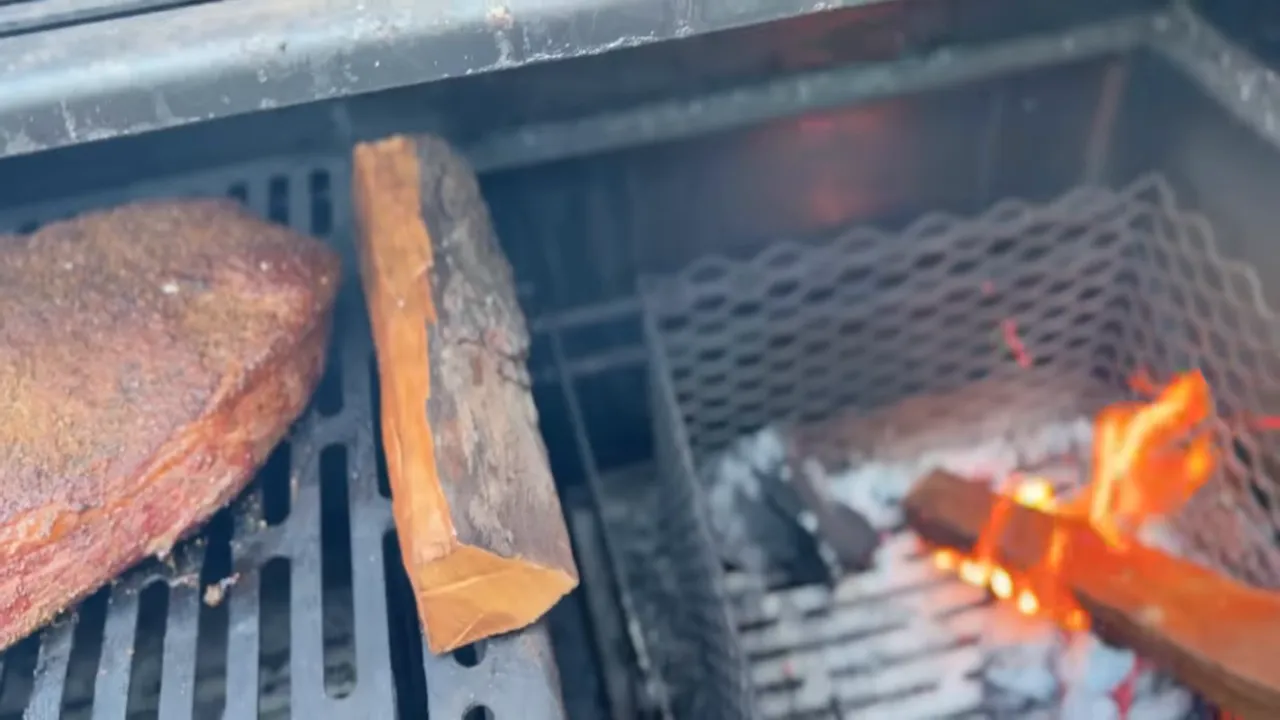
Once that initial smoke stage was complete, I added more wood and charcoal, returned the vents to the settings established during the trial, and left the grill alone.
And I really did leave it alone. I was away for eight hours, spending time with friends and heading out for an evening that included line dancing. There was no sneaking back to adjust a vent or tend the fire.
That was the experiment, not a blanket recommendation to leave any charcoal cooker unattended. The important preparation was establishing how this particular setup behaved before relying on it for a long stretch.
Moving the Brisket Into an Overnight Hot Hold
I arrived home just in time to move the brisket into its hot hold. Its internal temperature was around 195°F when I pulled it.
My finishing sequence was straightforward:
- Remove the brisket from the grill.
- Add beef tallow rendered from a previous cook.
- Wrap the brisket in foil.
- Place it in an oven holding around 150°F ambient temperature for the overnight hold.
The critical part is the food temperature, not just the number on the oven control. I kept the brisket above 140°F internally. If you are trying this with your oven for the first time, verify the hold with a thermometer rather than assuming the oven setting tells the whole story.
This was the hot-hold method used for this brisket. The approximately 195°F pull temperature describes this cook, rather than establishing a universal finishing temperature for every brisket.
Did Hands-Off Brisket Actually Taste Good?
A steady temperature chart is useful, but nobody is coming to the party for a slice of data. The brisket still had to deliver.
Before slicing, it had the jiggle I hoped for and felt soft across the top. Cutting into it revealed plenty of moisture, a good smoke aroma, and browned, rendered fat.
The flat slices draped nicely and pulled apart. The point looked well rendered inside. Those were all encouraging signs, but the taste was the real test.
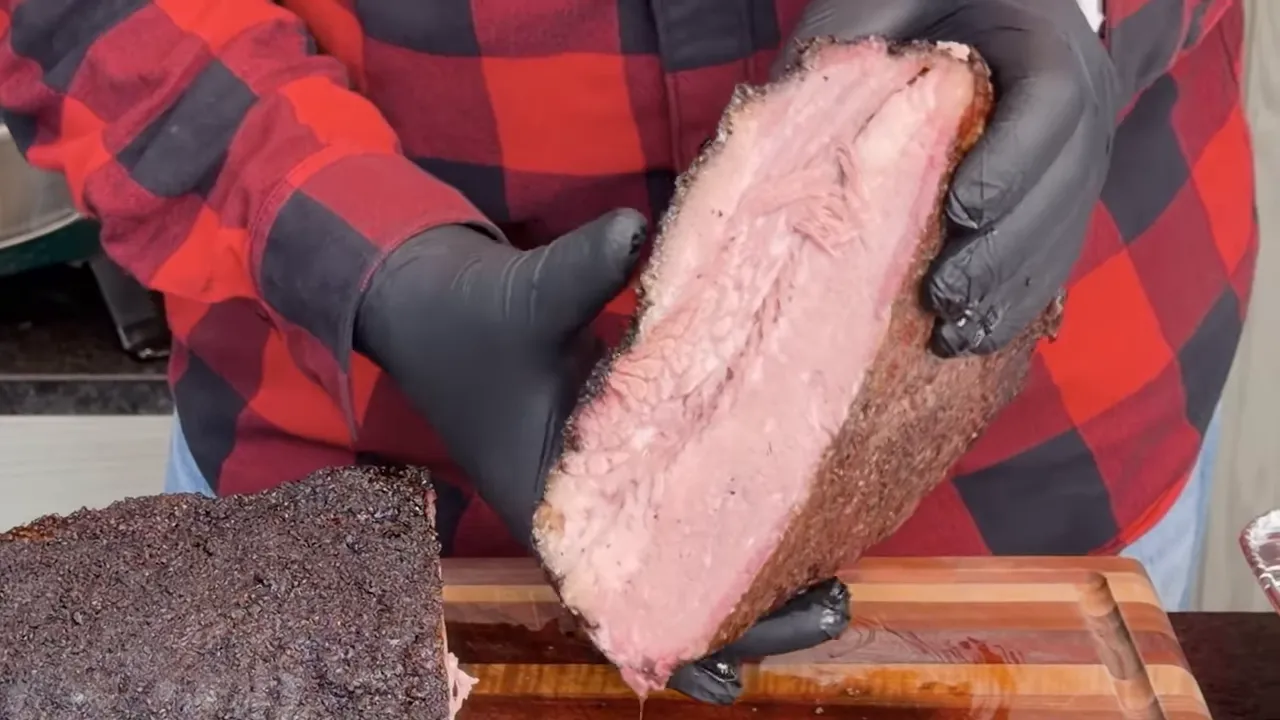
The flat was excellent. Then I tried the point. Lights out.
For a brisket that received no attention during that eight-hour charcoal stage, the result was seriously impressive. I got the smoke flavor I wanted from the opening wood fire and the convenience I wanted from the charcoal basket afterward.
My Verdict on Set It and Forget It With the LSG
Based on its size, I expected this grill might be hungry for fuel, closer to my experience with a Santa Maria-style cooker. That was not what happened.
Three splits over the opening three hours gave me great smoke. A loaded charcoal basket and the tested vent settings then carried the cook through a long hands-off stretch. The separate trial had already demonstrated more than 12 hours of burn time.
The biggest lesson is that set it and forget it starts with understanding the fire. Fuel choice, wind exposure, vent openings, and lid-opening habits all mattered more than simply filling a basket.
The LSG Adjustable Charcoal Grill has now impressed me with direct grilling, offset-style cooking, and this low-and-slow brisket test. For this cook, it delivered both the flavor and the long-burn performance I was looking for.
Do the trial run. Learn your airflow. Then don’t be afraid to fire it up.


