Tomahawk steaks are my personal favorite. You get a thick, beautifully marbled ribeye, a bone that brings out your inner caveman, and the chance to build an incredible crust over live fire. Get those pieces right, and steak night at home becomes pretty hard to beat.
But an expensive steak can also make you nervous. Renee had been barbecuing for about 24 years, yet she still worried about buying a premium cut and ruining it. She loved the convenience of her pellet smoker, but it wasn't delivering the sear she wanted on burgers, sausages, pork tenderloin, or steak. She had even bought another barbecue to fill the gap.
The solution wasn't simply more seasoning or more time on the grill. We needed a plan that separated cooking the inside from building the crust: a reverse-seared tomahawk steak, finished over ripping-hot charcoal with a simple sear sauce.
What You'll Learn
- Reverse searing separates gentle internal cooking from the intense heat needed to build a crust.
- A thin binder and even seasoning layer help flavor adhere without forming a heavy shell.
- Leave temperature headroom for carryover cooking and the final high-heat sear.
- Keep steaks moving over hot charcoal to develop browning without burning the surface.
Table of Contents
- The Game Plan: Four Layers of Flavor
- Make the Steak Dust Rub
- Set Up the Big Green Egg for Indirect Cooking
- Reverse Sear by Internal Temperature, Not the Clock
- Mix the Mayonnaise Sear Sauce
- Rest the Steaks and Switch to Direct Heat
- Why the Pellet Grill Wasn't Giving Renee a Crust
- Sear Fast, Flip, and Keep the Steaks Moving
- Slice, Serve, and Keep the Beef the Star
- A Backyard Power Option: BLUETTI Elite 100 V2
The Game Plan: Four Layers of Flavor
A tomahawk is a ribeye with a long rib bone attached. That marbling gives us plenty of richness, so the goal is to complement the beef rather than bury it.
For this cook, I built four layers:
- A truffle hot sauce binder to help the seasoning stick and add a savory foundation.
- Steak Dust dry rub for salt, pepper, garlic, and a little warmth.
- Charcoal smoke during a gentle indirect cook.
- A mayonnaise-based sear sauce before the final high-heat finish.
The reverse sear gives each stage its own job. First, we bring the center toward our target temperature without blasting the outside. Then we rest the steak while the Big Green Egg heats up for a very fast sear.
That distinction matters. If your steak is already nearly done inside, a long attempt to brown it on a grill that isn't hot enough can push the center too far before the crust develops.
Make the Steak Dust Rub
I like to start my rubs with an equal-parts salt-and-pepper base. Freshly cracked black pepper is worth the effort here, even if grinding it gives your forearms a little workout.
Steak Dust ingredients
- 2 tablespoons freshly cracked black pepper
- 2 tablespoons salt
- 2 tablespoons garlic powder
- 1 tablespoon onion powder
- 1 tablespoon paprika
- A dash of cayenne pepper
Mix everything thoroughly in a seasoning shaker or jar. The onion brings a little sweetness, the garlic adds savory flavor, and the cayenne supplies a touch of warmth without making heat the whole point.
Apply a thin binder and an even coat of rub
For the binder, we used TRUFF truffle hot sauce. A small dab on each steak is enough. Spread it into a thin coating over the meat, then season the faces and edges with the rub.
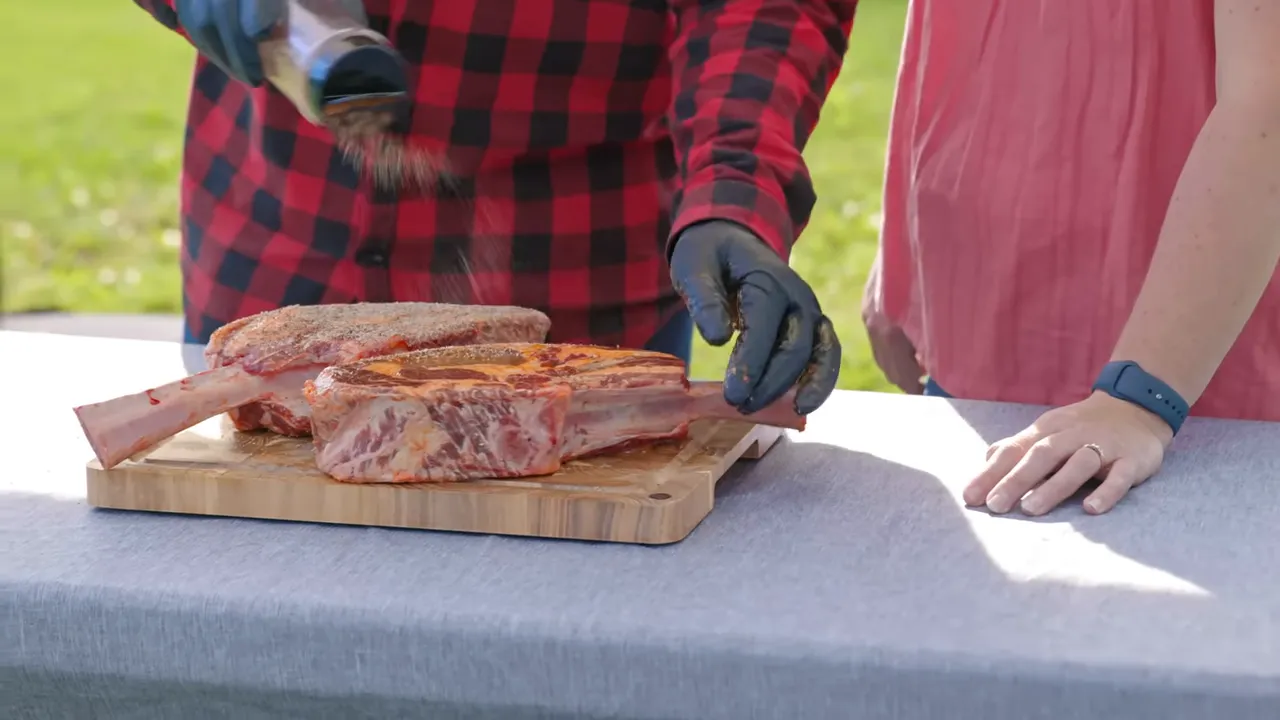
Don't cake the seasoning on. We want a thin, even layer that adheres to the meat, not a heavy shell that can break away during grilling. This was an immediate lightbulb moment for Renee, who realized she had been applying much more seasoning than she needed.
Once the steaks are seasoned, leave them ready while you build the fire. There is no separate overnight dry-brining step in this cook.
Set Up the Big Green Egg for Indirect Cooking
Live fire can seem intimidating until you understand what controls it. On the Egg, the two main controls are the bottom draft door and the top regulator.
I explain them like the pedals in a car:
- The bottom vent is your gas pedal. Opening it admits more air to feed the fire.
- The top regulator is your brake. Restricting the exhaust helps slow the temperature climb.
- Closing both vents shuts the fire down. The grill still needs time to cool before storage.
Both vents work together. You don't need to be afraid of them, but you do need to pay attention to how the grill responds.
Build the fire
- Start with a clear airflow path and remove accumulated ash.
- If using an ash can, align its opening with the lower air vent.
- Install the charcoal basket and add lump charcoal.
- Light the charcoal with your preferred appropriate fire starter.
- As the fire establishes, begin adjusting the vents and install the indirect heat deflector and cooking grid.
We used a Kick Ash Basket and Can to simplify cleanup and a GrillGun to light the lump quickly. Those tools make the process easier, but the underlying requirement is the same: a clean airflow path and an established charcoal fire.
The charcoal we used brought a pleasantly sweet aroma without an overpowering smoke flavor. I also liked that it was made using pruned branches from farmers' fields. We didn't add a separate smoking-wood step for these steaks.
Settle the cooking temperature around 270°F
Our startup temperature climbed quickly, first toward 400°F and then about 500°F. Those were startup readings, not the temperature we intended to cook the steaks at.
Once the grill had begun warming, I reduced the bottom draft door and top regulator to roughly a finger's width, then installed the indirect setup. Our cooking target was about 270°F.
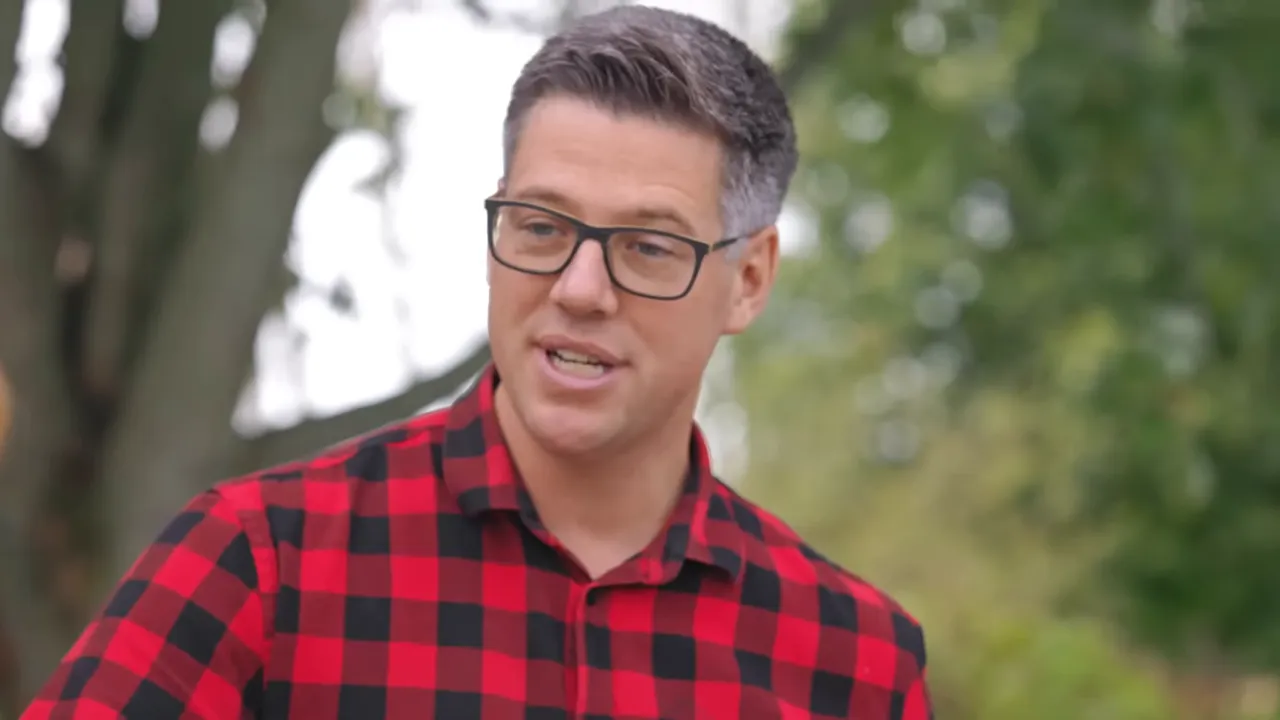
Use those vent openings as a starting point, not a universal setting. The important result is a stable indirect cooking temperature. Also, a fast-rising dome reading doesn't mean all the ceramic has warmed equally, so pay attention to the grill's overall temperature trend rather than one early number.
Reverse Sear by Internal Temperature, Not the Clock
A thick tomahawk is exactly where a reliable meat thermometer earns its place. We used MEATER wireless probes so we could follow both the meat temperature and the ambient temperature through the app.
Insert the probe into the meat past its required insertion line, following the manufacturer's instructions. The internal sensor measures the steak, while the exposed sensor tracks the cooking environment.
Place the steaks on the indirect cooking grid and close the dome. About halfway through the cook, flip them to encourage an even result.
Leave room for carryover and the sear
For this cook, I set the internal-temperature alert to 125°F. That was a pull point for the indirect stage, not a final serving temperature.
Renee said she normally ordered steak closer to medium. I deliberately left temperature headroom because the steaks would continue cooking during the rest and receive another burst of heat during searing. The plan allowed roughly 10°F for carryover, but that rise isn't guaranteed to be identical on every steak.
Don't confuse a pull temperature with a doneness promise. Check the actual temperature as you go and account for both carryover cooking and the final sear.
For food-safety context, the USDA safe minimum temperature guidance recommends cooking beef steaks to 145°F, followed by at least a three-minute rest. The lower pull point used here describes the cooking method, not that safety recommendation.
Mix the Mayonnaise Sear Sauce
While the steaks cook, make the last layer of flavor. My sear sauce combines mayonnaise, acidity, and seasoning into a coating we can brush onto the meat before the high-heat finish.
Sear sauce ingredients
- 1 cup mayonnaise
- 1 tablespoon red wine vinegar
- 1/4 teaspoon freshly cracked black pepper
- 1/8 teaspoon Diamond Crystal kosher salt
- 1 tablespoon garlic powder
Stir everything together until fully combined. The vinegar brings acidity, while the garlic, pepper, and salt reinforce the savory seasoning already on the steak.
This isn't a heavy finishing sauce to pour over the sliced beef. It's a thin coating for the searing stage. The tomahawk still needs to be the star.
Rest the Steaks and Switch to Direct Heat
When the steaks reach the indirect-stage pull point, move them to a clean board and let them rest while you reconfigure the Egg. For steaks this size, the demonstrated rest was about 10 minutes.
This pause is useful twice over: the meat gets its rest, and you get time to turn a gentle indirect cooker into a high-heat searing grill.
- Use heat-resistant gloves and suitable tools to remove the hot indirect components.
- Position a cooking grid directly over the charcoal.
- Open the vents to increase airflow and build a much hotter fire.
- Let the grill reach searing heat before returning the steaks.
We brought the Egg to around 800°F at the dome, with glowing charcoal beneath the grid. At that intensity, you need to be organized before the steaks go on. Have your sauce, brush, gloves, and clean landing board ready.
Why the Pellet Grill Wasn't Giving Renee a Crust
Before finishing on the Egg, we tried Renee's usual pellet-grill searing approach. After about 20 minutes of heating, its display was around 389°F. A later temperature check was about 395°F.
The steak went on, but the surface changed very little. I stopped the attempt rather than keep cooking an expensive steak while waiting for a crust that wasn't developing quickly enough.
That was the limitation of this particular grill and setup. It was good at the smoking work Renee enjoyed, but it wasn't delivering the intense heat we needed for a fast final sear.
The browning we're after is the Maillard reaction, the set of reactions responsible for much of that savory, browned exterior. The practical lesson isn't that browning only happens at one magic grill temperature. It's that this reverse-sear finish needed enough heat at the steak's surface to build a crust quickly, without spending too long heating the center.
You can combine different cookers to do different jobs. In this case, the Big Green Egg let us handle both the gentle cook and the high-heat finish on one grill.
Sear Fast, Flip, and Keep the Steaks Moving
Brush a thin layer of sear sauce onto one face of each rested steak. Put that side down over the hot charcoal, then brush the exposed side.
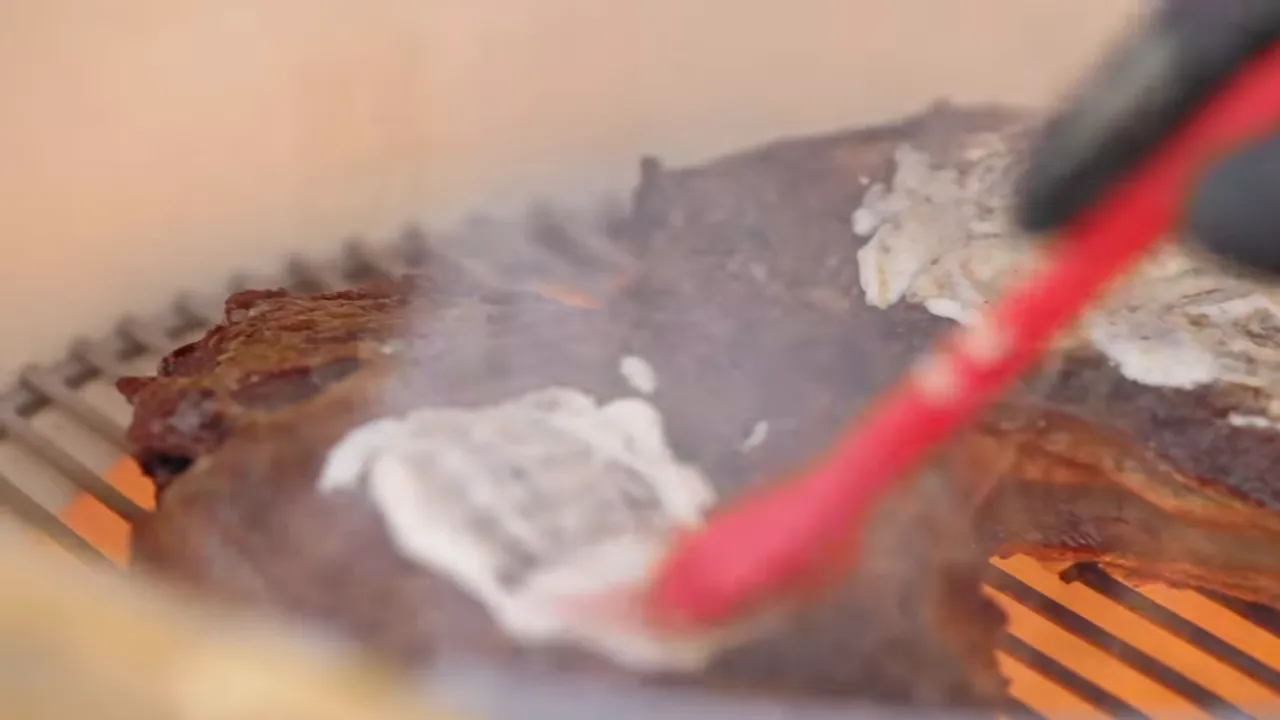
At roughly 800°F dome temperature, the surface changes fast. Think in seconds, not long unattended stretches. The on-screen guidance for this stage was around 30 seconds, but the crust itself is the cue to follow.
- Flip promptly as the first side develops color.
- Move the steaks around rather than leaving them over one hot spot.
- Stay ahead of flare-ups so browning doesn't become burning.
- Pull them when the crust is ready instead of continuing just to chase darker grill marks.
This is active live-fire cooking. The long bone makes the tomahawk fun to handle, but it doesn't replace proper heat protection.
Slice, Serve, and Keep the Beef the Star
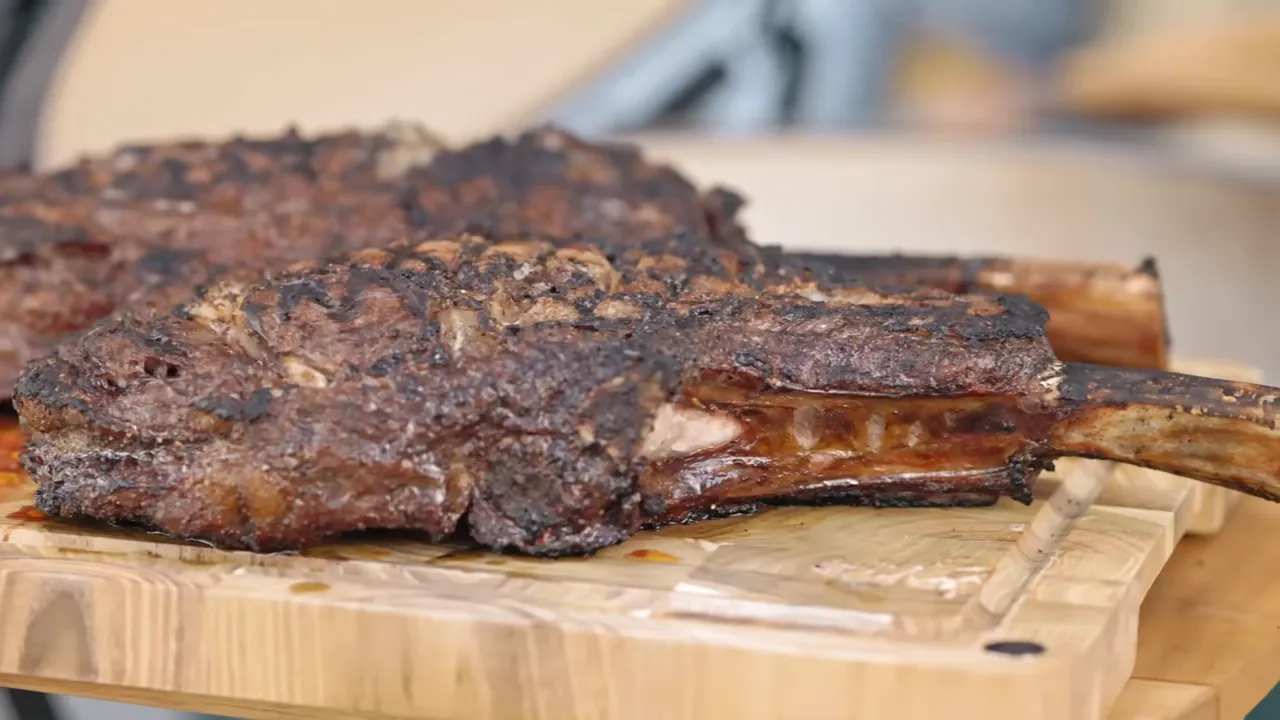
With the steaks rested before searing and the crust finished, we moved straight to slicing and serving. A sharp knife makes quick work of separating the ribeye from the bone and cutting it into serving pieces. Renee's new Dalstrong Shadow Black Pitmaster knife handled that job.
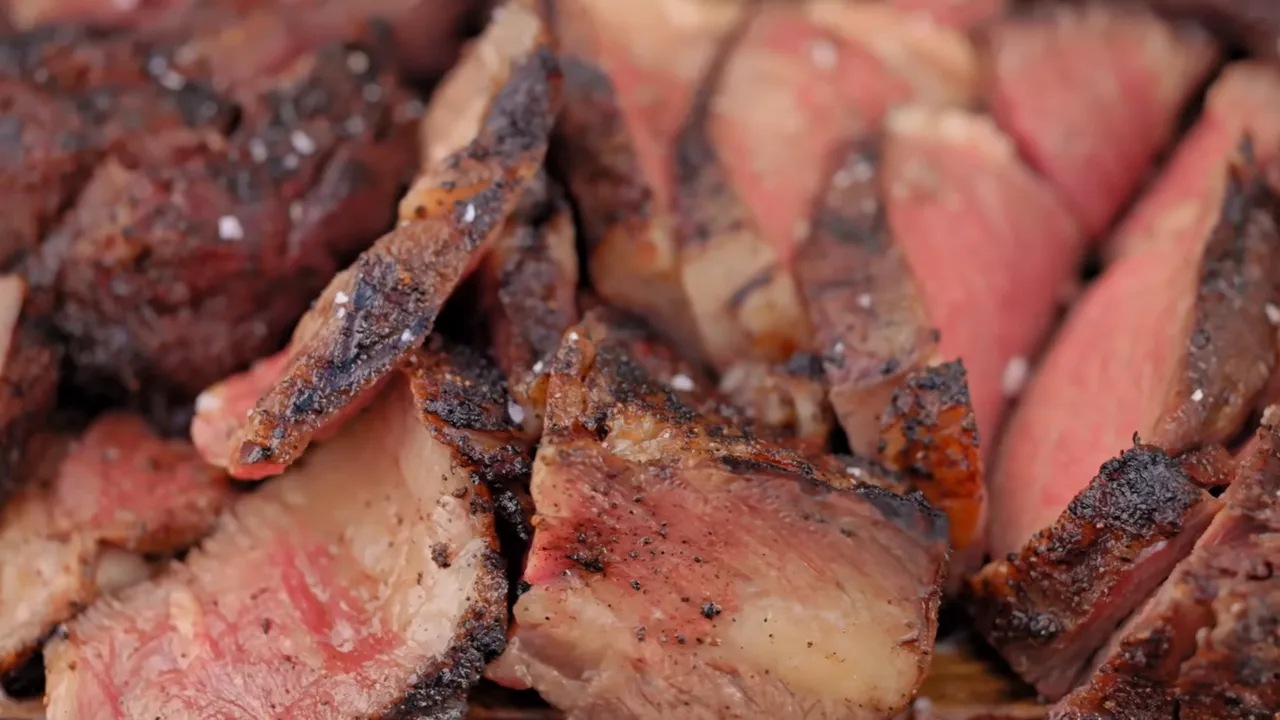
The result was exactly what we were chasing: a substantial crust, a juicy interior, and seasoning that made the beef taste more like beef. Renee noticed the salt lifting the flavor throughout the bite rather than simply making the outside salty.
More importantly, she went from being afraid to buy a steak like this to feeling confident she could make it worthwhile for her family.
That's the real win. You don't need to stop being cautious with an expensive cut. You need a repeatable plan: season lightly, cook indirectly, measure the center, rest, then sear hot and fast. Once those jobs are separated, live fire becomes a lot less mysterious.
A Backyard Power Option: BLUETTI Elite 100 V2
Sponsor note: BLUETTI sponsored this cook. Its Elite 100 V2 portable power station is a separate backyard convenience, not something you need to grill these steaks.
I use portable power when I want to avoid running a long extension cord. Around the backyard, that can mean powering a rotisserie, charging wireless thermometers and other accessories, running outdoor lighting or a television, or supplying compatible pool-cleaning equipment and party accessories.
The unit weighs about 25 pounds and can be charged from home power, solar, or a vehicle setup. It also offers quiet operation and an app with power-use information, alerts, and controls. BLUETTI's selection questionnaire can help match a model to the equipment you intend to run.
Another use for me has been battery backup for the refrigerator holding a dry-aged pork-shoulder experiment. Its uninterruptible power supply function provides a way to bridge an interruption, subject to the appliance's requirements and the battery's available capacity. The same compatibility check matters for other proposed backup loads, such as a laptop or sump pump.
The original promotion included a limited-time fall sale, so check the current listing rather than assuming those prices are still available.
|


