Do the same Big Green Egg vent settings produce the same temperature at 7,000 feet as they do near sea level? I took my MiniMax into the mountains to find out, then brought it home and repeated the cook at about 200 feet above sea level.
Same grill. Same charcoal. Same vent openings. Two closely matched tri-tips, cooked like brisket.
The fire behaved very differently. The cook time also surprised me, although that result came with an important lesson about controlling variables. And the taste test? Let’s just say I made two tri-tips that were far more useful as an experiment than as dinner.
Disclosure: DiamondBack Covers sponsored this test, and the original production also received free product/sponsorship support from Big Green Egg.
Key Takeaways
- Identical MiniMax vent openings produced higher recorded ambient temperatures at lower elevation in my two cooks.
- Different starting meat temperatures prevented a clean conclusion about altitude’s effect on cooking time.
- For high-altitude brisket-style barbecue, I would favor lower-and-slower cooking over copying hot-and-fast methods unchanged.
Why Altitude Matters for Barbecue
For years, I’ve been asked whether my vent settings work the same at higher elevations. A related question comes up when a popular hot-and-fast method produces dry, disappointing barbecue somewhere else.
Altitude gives me two separate things to think about:
- Fire management: Lower air density changes the oxygen available to a charcoal fire at a given airflow.
- Moisture management: Lower atmospheric pressure reduces water’s boiling temperature, which changes the cooking environment.
Near my home, at roughly 200 feet above sea level, water boils at approximately 212°F (100°C). At the mountain location, near 7,000 feet, the approximate boiling point was 198°F (92°C).
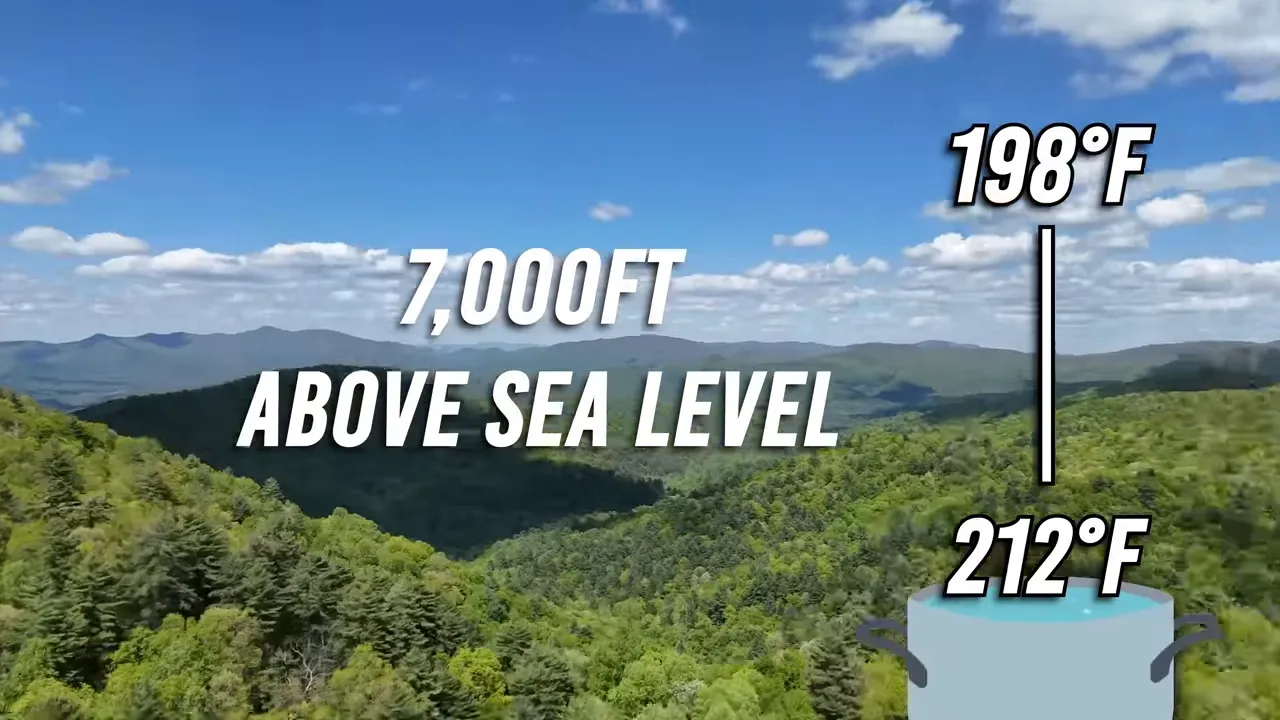
Raw beef contains a substantial amount of water, roughly three-quarters by weight depending on its composition. That lower boiling point is worth considering when I’m trying to get meat tender without drying it out.
It also helps explain why I wouldn’t automatically transplant a brisket method from a lower-elevation barbecue restaurant into a mountain cook. I had recently visited La Barbecue in Austin, Texas, where they cook briskets hot and fast. A method that works beautifully in one setting may need adjusting in another.
The USDA’s high-altitude cooking guidance provides useful background on how lower atmospheric pressure affects cooking. My question was narrower: how much difference would I actually see on a small ceramic charcoal grill?
My Test Setup: One MiniMax, Two Elevations
I used the same Big Green Egg MiniMax for both cooks. The mountain test came first, followed by the repeat at home within about two days.
This was deliberately not my best tri-tip recipe. I wanted to reduce differences in preparation and let the fire’s behavior show up in the temperature records.
What I Tried to Keep Consistent
- Meat: Two tri-tips of closely matched weight, each roughly 1.8 pounds (0.82 kilograms).
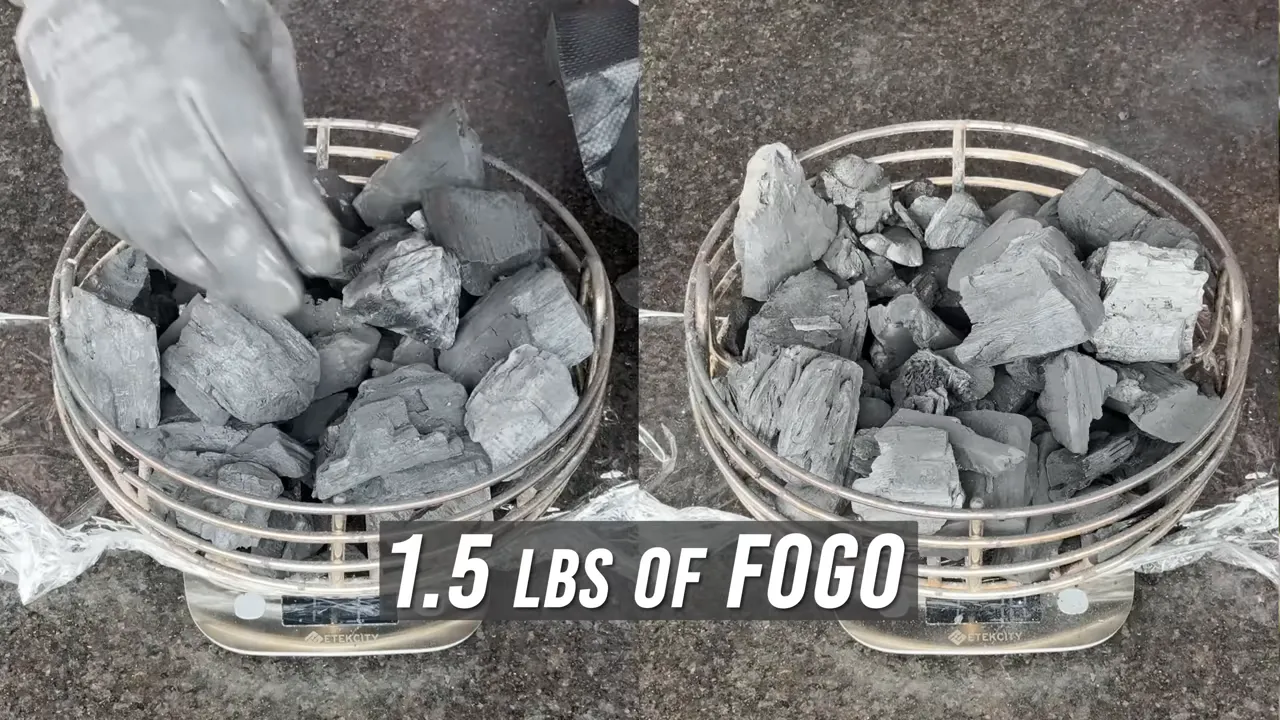
- Fuel: 1.5 pounds (approximately 680 grams) of FOGO charcoal for each cook, weighed from the same bag.
- Lighting: One fire starter, with a repeatable lighting procedure and a 10-minute preheat. In the home repeat, I recorded 30 seconds of torch use.
- Cooking arrangement: Heat deflectors beneath the cooking grate, with the meat positioned as consistently as possible.
- Monitoring: A MEATER probe to record internal food temperature and the surrounding ambient temperature.
- Vents: Matching bottom draft-door and top regulator openings, using my knife handle as a repeatable spacing reference.
- Finish: The same internal food-temperature alert of 203°F (95°C), followed by the same resting interval before slicing.
I even left both tri-tips unseasoned. I didn’t want different amounts of salt or seasoning application becoming another variable in the moisture comparison. That was an experimental choice, not advice to skip seasoning your barbecue.
Most importantly, I did not adjust the vents as the cooks progressed. If the temperature climbed, I let it climb. In a normal cook, I would intervene to manage the fire. Here, leaving the vents alone was the point.
The 203°F (95°C) food-temperature target also needs context. It was a shared endpoint for comparison, not a recommended tri-tip temperature, a guarantee of tenderness, or a food-safety requirement. It was above the local boiling point at the mountain location, which made this a particularly unforgiving test.
The Mountain Cook: Useful Data, Terrible Tri-Tip
At nearly 7,000 feet above sea level, the tri-tip reached the selected endpoint at roughly the one-hour mark.
I wasn’t expecting an outstanding meal. Cooking an unseasoned tri-tip hot and fast to 203°F (95°C) is hardly stacking the deck in its favor. Even so, the result was rough: very dry, tough to chew, and not good.
A ranger also stopped by to remind me that I was in bear country. Apparently, my opinion of dinner wasn’t the only one that mattered. It was a useful reminder to follow local food-storage and wildlife rules whenever I take a grill camping.
After the test, I packed up for the roughly 800-mile trip home. One part of that stop should not become a backyard shortcut: I removed the hot charcoal basket and used ice on the removed fuel container to speed cooling. I would not recommend copying that as a general shutdown procedure. Hot fuel handling creates burn and fire hazards, and rapid cooling can damage components. Follow the grill manufacturer’s shutdown and cooling instructions, and do not transport hot or smoldering charcoal in a vehicle.
The Home Repeat Took Longer, Not Less Time
Back at about 200 feet above sea level, I repeated the setup: weighed charcoal, matching lighting and preheat, deflectors, probe placement, and the same vent openings.
The first surprise was the time. The lower-elevation tri-tip took nearly 20 minutes longer to reach the same internal-temperature endpoint.
That sounds like an altitude result until I look more carefully at what wasn’t equal.
The Variables I Didn’t Fully Control
The mountain tri-tip started warmer. It had been in a cooler and was out longer during setup, and I only discovered the starting-temperature difference after inserting the probe. That gave it a head start.
That is a testing mistake I would correct next time, not a recommendation to warm raw meat before cooking. For a cleaner comparison, I would match starting food temperatures while maintaining safe refrigeration and handling.
The pieces of meat were also close in weight, not identical in composition. When I sliced the home-cooked tri-tip, it appeared to have more intramuscular fat. Differences between the cuts could have contributed to the timing and eating-quality results.
So I can report that the home cook took longer. I cannot fairly conclude that lower elevation caused the longer cook, or that high-altitude barbecue generally finishes faster.
The Taste Comparison: Slightly Less Awful Is Still Not Good
After matching the resting interval, I sliced and tasted the home tri-tip.
It was still very dry. It was slightly less unpleasant than the mountain version, but that is a pretty low bar. This was the kind of beef that makes me start thinking about how much barbecue sauce is available.
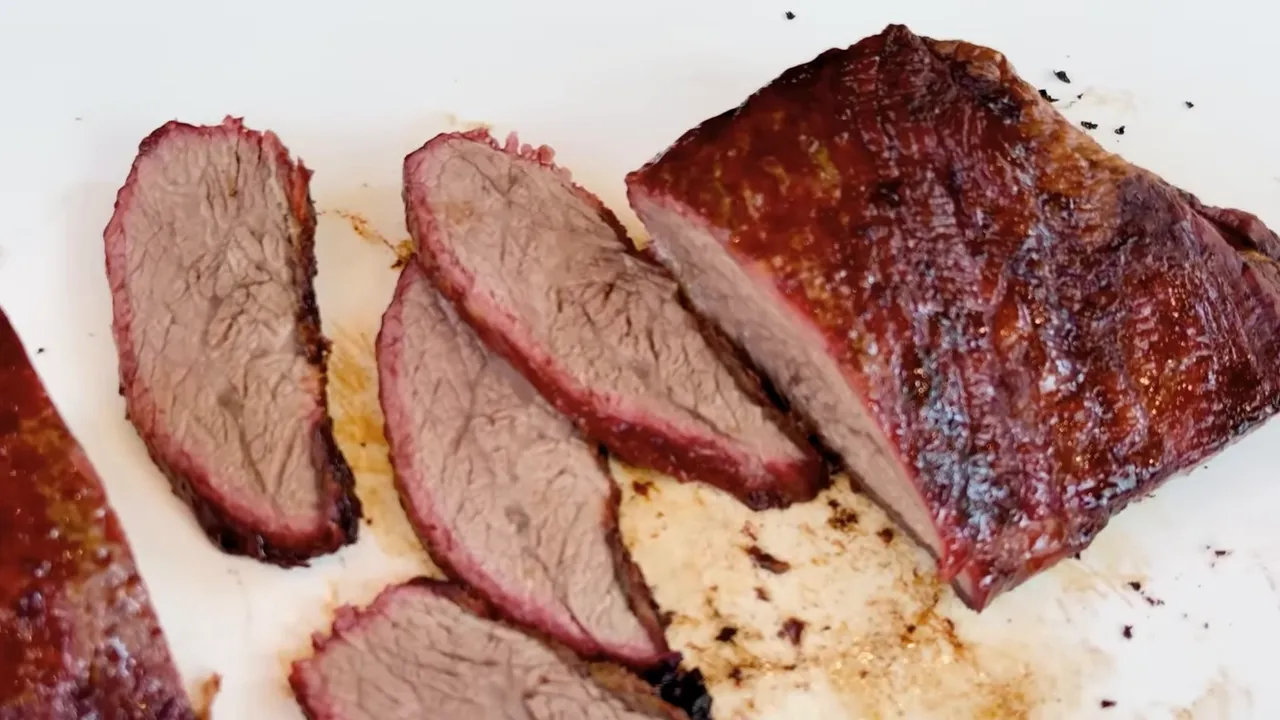
I could also see pale fat that had not fully rendered. Reaching a high internal temperature quickly had not produced the texture I wanted.
That distinction matters: reaching a number is not the same thing as achieving tenderness. This test pushed both pieces of meat to a fixed temperature for comparison, rather than managing each cook for the best result.
My tasting observations were consistent with the concern about moisture at altitude, but they do not isolate altitude as the cause. This was one piece of meat per location, with different starting temperatures and apparent differences in fat content. It was not a blind taste test or a measurement of moisture loss.
The Clearest Result: Identical Vents Produced Different Temperatures
The fire-control comparison was the most useful part of the experiment.
Looking at the MEATER ambient-temperature charts, the MiniMax ran hotter at the lower elevation with the same vent settings. Two comparisons stood out:
- At the separate cook endpoints: The lower-elevation ambient reading was about 23% higher on the Fahrenheit chart.
- At the matching one-hour mark: The lower-elevation ambient reading was about 15% higher on that chart.
The one-hour comparison is the more useful one. Both fires were still increasing in temperature, and the home cook continued for nearly 20 minutes longer. Comparing only the final readings exaggerates the difference by also comparing different elapsed times.
These were probe ambient readings near the food, not a comparison of dome-gauge readings or a separately measured grate temperature. The percentages describe the recorded Fahrenheit readings, not a universal percentage increase in heat output or an altitude-correction formula.
The direction of the result makes sense to me: with the same restricted vent openings, the lower-elevation fire had a denser air supply available and climbed more aggressively. I did not measure airflow or oxygen delivery, so I would not claim this test precisely quantifies that mechanism.
But for the practical question, the difference was clear enough to change how I give advice: a vent position is a starting point, not a temperature guarantee across elevations.
How I Would Apply This to a Backyard Cook
I would make a few changes when moving a familiar kamado setup to higher elevation, regardless of the brand on the lid.
- Use familiar vent settings as an initial reference. Then adjust based on the actual temperature and its direction of travel. My experiment deliberately avoided corrections; a good cook should not.
- Be cautious about copying hot-and-fast barbecue methods. For brisket-style cooking at altitude, I would start lower and slower rather than assume an aggressive low-elevation method will translate unchanged.
- Consider moisture-management tools individually. Injecting, spritzing, and wrapping may be worth testing if dryness is a recurring problem. I did not compare those techniques here, so I cannot prescribe a winning combination.
- Record the details that explain your results. Fuel amount, vent openings, elevation, starting food temperature, and probe location make a cooking log far more useful than a finish time alone.
- Separate tenderness from food safety. Use appropriate safe-handling and cooking guidance for the food, then assess the texture your chosen barbecue method is intended to produce. A fixed 203°F (95°C) target did not rescue either of these tri-tips.
I don’t regularly inject meat at my home elevation. After this test, though, I can better understand why someone cooking at higher elevation, or in competition barbecue, might value that extra moisture and flavor. That is a reason to experiment, not proof that everyone at altitude needs an injection.
My Bottom Line on High-Altitude Vent Settings
The strongest lesson wasn’t that mountain barbecue is doomed, or that I discovered an exact altitude adjustment. It was that the same MiniMax, fuel load, and vent openings produced meaningfully different ambient-temperature behavior at two elevations.
The eating-quality comparison was less conclusive, and the cook-time surprise exposed a variable I should have controlled better. I’m happy to change my interpretation when the details demand it. That is the value of doing the test instead of just defending an assumption.
If your familiar vent settings stop behaving as expected after a move or a camping trip, altitude deserves a place on your troubleshooting list. Manage the fire you actually have, give the meat the time and conditions it needs, and treat someone else’s settings as guidance rather than a promise.


